
When your Mac starts feeling sluggish, applications freeze momentarily before responding, and the spinning rainbow wheel appears with frustrating frequency, the culprit is often insufficient available RAM (Random Access Memory). RAM is your Mac temporary working memory that holds all currently active application data, system processes, cached files, and background service information. When the available RAM becomes saturated, macOS is forced to use significantly slower SSD storage as virtual memory swap space, creating the noticeable performance degradation that makes your Mac feel years older than it actually is. This guide explains exactly how to identify RAM pressure issues and clear memory effectively on any Mac in 2026.
Table of Contents
How to Check Your Mac RAM Usage with Activity Monitor
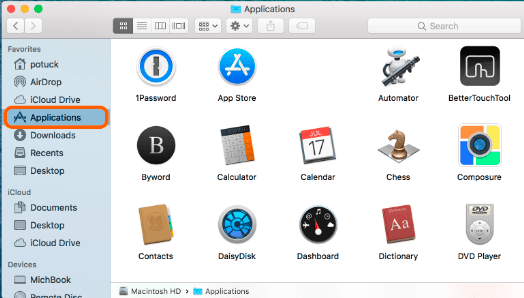
Before attempting to free RAM, you need to understand how your Mac is currently utilizing its available memory. The built-in Activity Monitor application provides a detailed real-time breakdown of memory allocation across every running process, application, and system service. To access it, open Finder, navigate to Applications, then Utilities, and launch Activity Monitor. Alternatively, press Command + Space to open Spotlight search and type “Activity Monitor” to find it instantly.
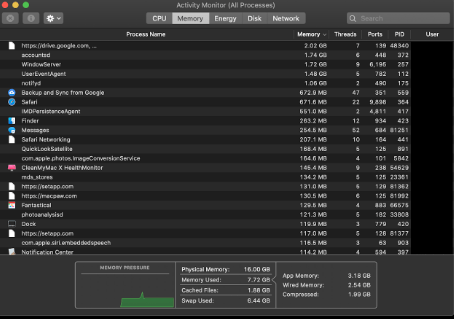
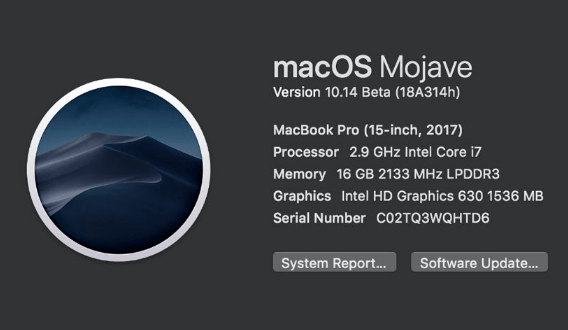
Once Activity Monitor is open, click the Memory tab at the top of the window. The bottom panel displays a Memory Pressure graph that visualizes your RAM utilization status using a color-coded system: green indicates healthy memory availability with plenty of headroom, yellow means the system is beginning to compress memory and may start using swap space soon, and red signals that your RAM is critically overloaded and the system is actively swapping data to the SSD, causing severe performance degradation. The panel also shows four key metrics: Physical Memory (total installed RAM), Memory Used (currently allocated), Cached Files (data held for quick re-access), and Swap Used (data offloaded to SSD when RAM is full).
Method 1: Close Memory-Hungry Applications and Browser Tabs
The most effective immediate RAM recovery method is identifying and closing applications that consume disproportionate amounts of memory. In Activity Monitor Memory tab, click the “Memory” column header to sort all running processes by RAM consumption in descending order. The top entries reveal which applications are consuming the most memory. Common high-memory culprits include web browsers with many open tabs (Chrome is particularly notorious for allocating large memory blocks per tab), creative applications like Adobe Photoshop, Premiere Pro, and Final Cut Pro that load large media files into RAM, communication platforms like Slack and Microsoft Teams that maintain persistent WebSocket connections and cache conversation history, and virtual machine applications like Parallels Desktop or Docker that allocate dedicated memory partitions to guest operating systems.
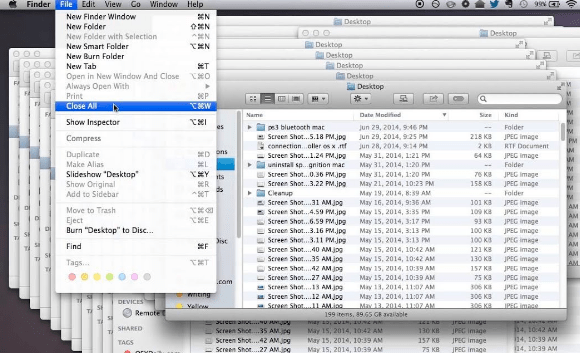
To close applications consuming excessive memory, you have several options. The cleanest method is switching to each application (Command + Tab) and quitting it normally (Command + Q). For applications that are unresponsive or refuse to close, select the process in Activity Monitor, click the X button in the toolbar, and choose Force Quit. For web browsers, consider closing unnecessary tabs and using a tab suspension extension that automatically unloads inactive tabs from memory while keeping them available for quick reactivation when needed.
Method 2: Clear RAM Using Terminal Purge Command
macOS includes a built-in command-line tool that forces the system to flush inactive memory caches and reclaim RAM that is being held by terminated processes but not yet released back to the available pool. Open Terminal (Applications, Utilities, Terminal) and type the following command: sudo purge then press Enter. You will be prompted to enter your administrator password. After authentication, the purge command clears the disk cache and releases inactive memory pages, potentially freeing several gigabytes of RAM depending on how long your system has been running since the last restart.
The purge command is safe to run at any time and does not close any running applications, delete any data, or modify any system settings. It simply instructs the memory management subsystem to release cached data that is no longer actively needed. After running the command, you should notice an immediate decrease in Memory Used and an increase in available memory in Activity Monitor. Note that macOS will gradually rebuild these caches as you continue using applications, so the freed memory is temporary, but it provides immediate relief during RAM pressure situations.
Long-Term Prevention: Keeping Your Mac RAM Optimized
Rather than reactively clearing RAM when problems occur, implementing proactive memory management habits keeps your Mac running smoothly continuously. Restart your Mac at least once per week to completely flush all accumulated memory caches, release orphaned process memory, and reset the swap file. Close applications when you finish using them rather than leaving dozens of apps running in the background. If you frequently work with browser-heavy workflows, consider switching to Safari which uses significantly less RAM per tab than Chrome or Firefox due to its deep macOS integration and efficient WebKit rendering engine.
Review your Login Items in System Settings to disable unnecessary applications that automatically launch at startup and consume RAM before you even begin working. Disable unnecessary browser extensions that run persistent background scripts consuming memory resources. If your Mac consistently shows yellow or red memory pressure during your normal workflow, it may indicate that your current RAM configuration is insufficient for your usage patterns, and the most effective permanent solution is upgrading to a Mac with more unified memory (16GB minimum recommended for multitasking, 32GB or more for professional creative and development workloads).
Related Mac Performance Guides
Complement RAM optimization with these guides: clear system storage on Mac, how to defrag your Mac, fix loud Mac fan noise, and check how long your MacBook should last.
Reclaim Your Mac Performance Today
Clear your RAM, close unused apps, and implement these optimization habits to keep your Mac running at peak speed.