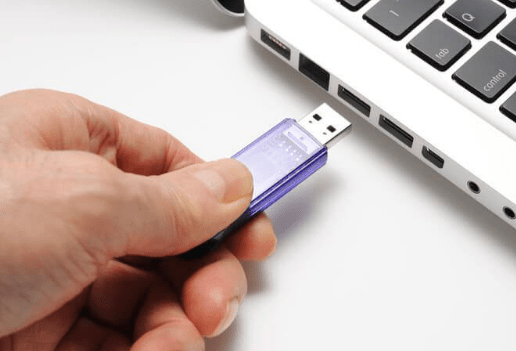
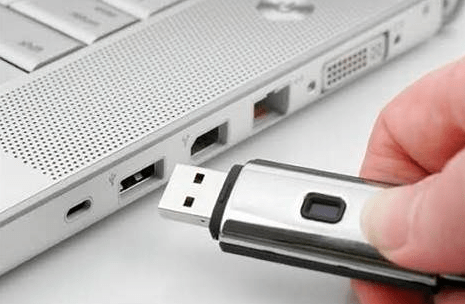
Plugging a USB flash drive into your Mac should be seamless, but many users find themselves confused when the drive does not appear on the desktop or in Finder. Unlike Windows which assigns a drive letter and opens AutoPlay, macOS handles external USB storage through Finder sidebar integration and optional desktop icons that may be disabled by default. This guide covers every method to locate, access, and troubleshoot USB drives on Mac in 2026.
USB Access Methods
Method 1: Find USB in Finder Sidebar
When you plug a USB drive into your Mac, it appears in Finder sidebar under Locations. If not visible, open Finder, click Finder in menu bar, select Settings, click Sidebar tab, and check External disks under Locations. This makes all connected storage visible in every Finder window.
Method 2: Show USB on Desktop
Open Finder, click Finder menu, select Settings, click General tab, check External disks under Show these items on desktop. Any connected USB will show as a desktop icon you can double-click.
Method 3: Disk Utility to Mount USB
If USB appears in Disk Utility but not Finder, click Mount button. If NTFS formatted, Mac reads but cannot write without third-party software like Paragon NTFS. For cross-platform use, format as ExFAT.

Troubleshooting USB Not Recognized
USB not showing anywhere?
Try different USB port. If using hub, connect directly. Test drive on another computer.
Drive is read-only?
NTFS formatted drive. Reformat as ExFAT or install Paragon NTFS for Mac.
Related Guides
Find Settings on Mac, restart Mac with keyboard, shutdown MacBook Pro.
Never Lose Track of USB Drives Again
Configure Finder once and every USB appears automatically.